A Contact page is part of almost every company’s website. Keep reading and discover some simple tips that’ll help you build a solid contacts page in DNN.
The goal
The image below exemplifies what we want to achieve with this tutorial: a simple and organized contacts page, where your customers and visitors can easily reach all the info they’re looking for.

#1 Show where you are
People want to know where you’re from. By looking at a map, people can immediately catch up where you are located, what’s the time difference and eventually which language you speak.
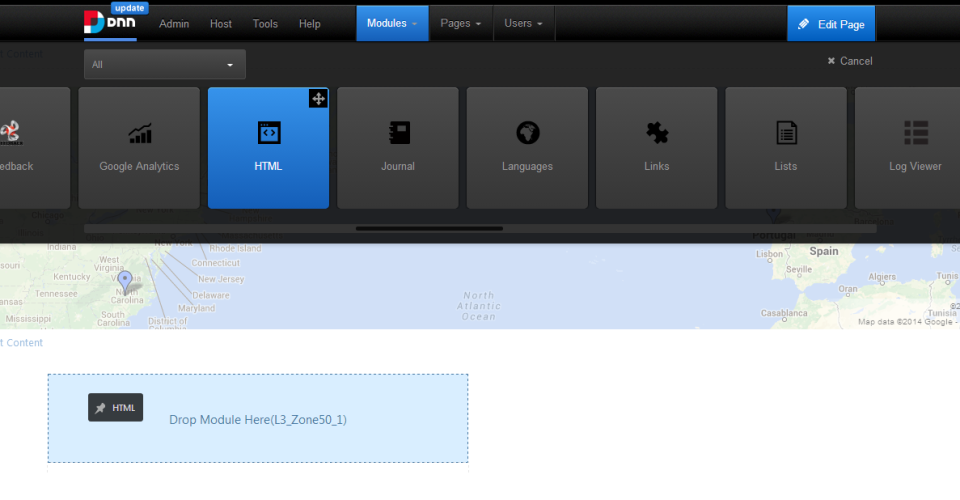
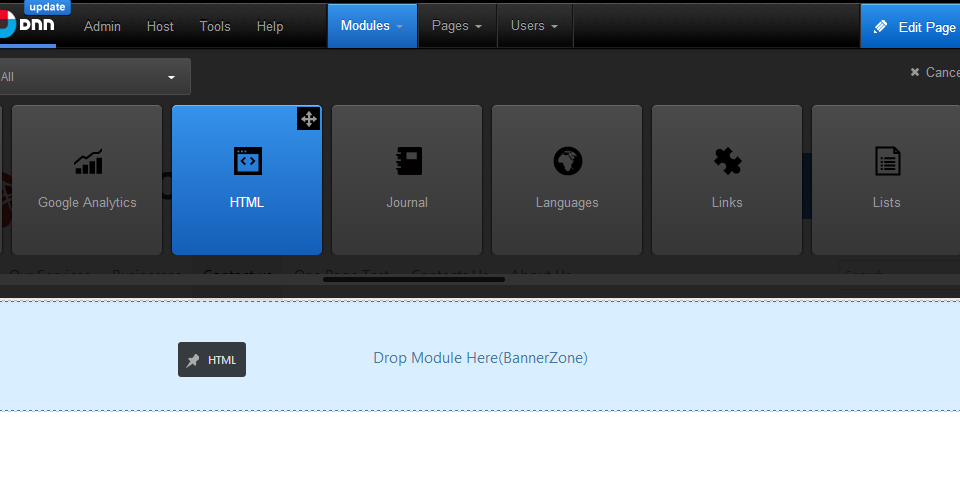
- Add an HTML module to a (full-width) banner/top pane.
- Add the code which draws the map.
Remove px width value set by default in the map source code. Set its width to 100% to create a full-width map:
Note that in this example we are using Google Maps.
Helpful links:
How to embed a Google Map?
How to create a custom Google Map? - Add an HTML module.
- Add the code.
On this example we're using the Bootstrap collapse widget.
Expand/collapse widget code (Bootstrap 3)
Bind, Inc.
795 Folsom Ave, Suite 600
North Carolina, NA 94107
GPS (+36,-79)
Phone 00888888
Fax 00888880
Email first.last@example.comExpand/collapse widget code (Bootstrap 2)
Bind, Inc.
795 Folsom Ave, Suite 600
North Carolina, NA 94107
GPS (+36,-79)
Phone 00888888
Fax 00888880
Email first.last@example.comIf you're using a skin built with Bootstrap v2 or v3, the code above will work perfectly.
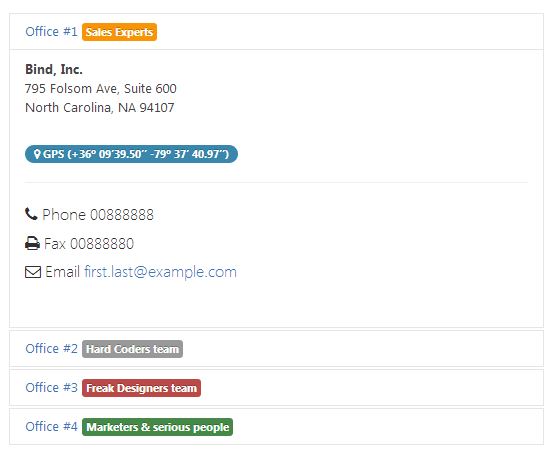
You can also use 3rd party modules such as DNN Gallery (jQuery UI Accordion) to build the accordion widget.
#3 Request feedback
Feedback is important to every business. Create an easy way to collect it.
- Add a Feedback module.
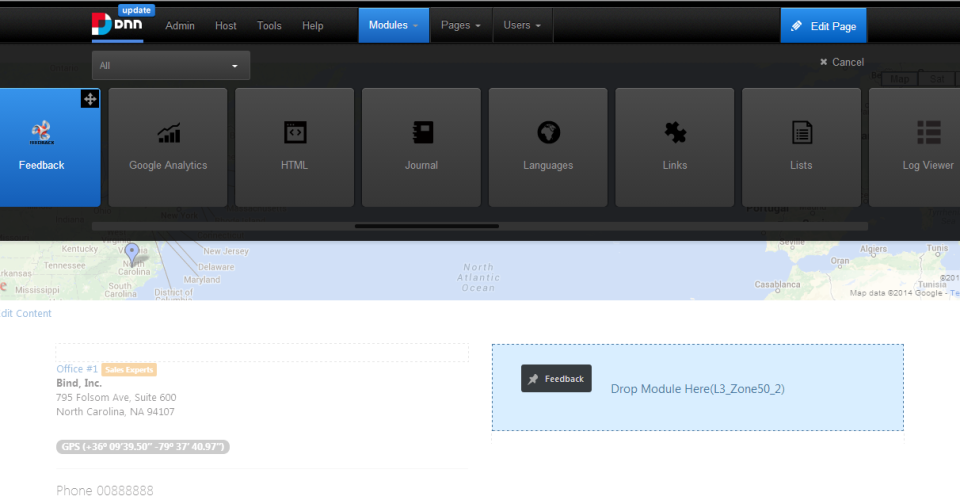
The Feedback module is part of the core modules packaged with DNN. It is a free basic module used for accepting user inquiries on your DNN site, which is available for download here .
To use this module, a SMTP configuration is required to allow receiving feedback messages from users by email. Know more.
- Customize the module (optional).
Although the latest version of the Feedback module already has a clean design, here are some css customizations which will help you achieve a better design.- Use some extra CSS code to play with font-size, colors and form width.
h2.dnnFormSectionHead { font-size:14px; color: #999; } .dnnFormItem.Feedback_CharCount { display: none; } .dnnForm.FeedbackForm .dnnFormItem INPUT, .dnnForm.FeedbackForm .dnnFormItem TEXTAREA, .dnnForm.FeedbackForm .dnnFormItem SELECT { width: 90%; } .dnnForm.FeedbackForm .dnnFormItem .dnnLabel { width:auto; } span.dnnFormRequired:after, div.dnnFormItem.dnnFormRequired>div.dnnLabel span:after { color: #CC0000; } - Customize "Send Feedback" button according to the skin look, using jQuery code at the module's header.
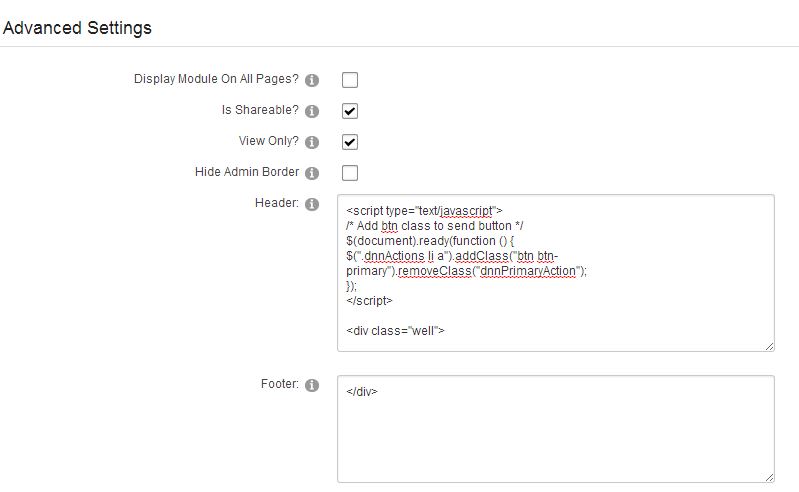
In this example we simply swap the class used in the button.
- When using Bootstrap-based themes, you can apply the "well" class for emphasis. Add focus to the form by uding the well class.
At module Settings > Advanced Settings, this is the code used in the module's header and footer:
- Use some extra CSS code to play with font-size, colors and form width.
See the original form (left) and the final result (right):
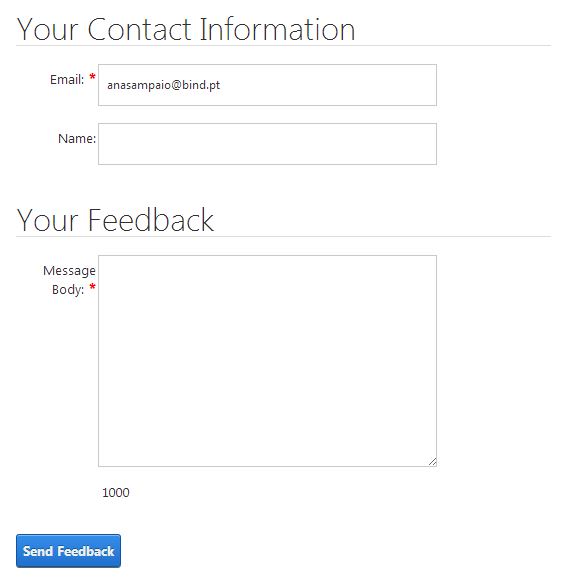
 Note: On this example I used version 06.04.03 of this module (currently the latest version). These customizations may not work if you are using a different version.
With this quick tutorial we hope to encourage people to turn their unhappy contact page into a polished spick and span page for their website, full of useful information for both customers and visitors.
This demo was created using Metro, a clean metro-style skin from BindTuning marketplace.
Create your site today. Download now the FREE The Bootstrap Theme DNN skin.
- Add a Feedback module.

#2 Provide useful information
Let your clients/visitors reach you. Provide them enough information to easily reach you at the office, or contact you requesting a quote.
Add further information about offices' address, emails and phone numbers. In this example we used the accordion/collapse widget to keep all the content organized, and save space at the same time.
